
Today I am posting the second installement of the Magic Loop Knitting Tutorials. Yesterday, I introduced you to the amazing Judy's Magic Cast-on, and today you will actually be knitting in the round using the Magic Loop...
Magic Loop Knitting Tutorial
If you look back at yesterday's post, you will see that we ended where you've cast on using Judy's Magic cast-on. Next you need to turn your work around, so that you can knit from the right hand side...
 Turn your work clock-wise as seen above, so that the metal needle is still at the top. This will also mean that you need to "flip"your needles so that the wooden needle is at the bottom again, and the "purl " side is facing you.
 If you compare the pics above and below, you'll see how you need to "flip"your needles, so that the metal needle is at the top again...
 See how clever this cast-on method is...you have already purled your first row... if you click on the pic above, it will enlarge and you can have a good close look at the first row...perfect purl!
 It is a little difficult to explain a 3D process like Magic Loop knitting, using 2D pics and words to describe the process, so please send me an email if you are unclear about anything... :)
 You are ready to start knitting Round 1. Hold your knitting in your left hand, and using your right hand, pull out the metal needle towards the right hand side. Remember, you always knit with the same needle, ie in this case the metal or "top"needle (see previous post).
 Be careful that you don't pull the metal needle out too far, or the cable loop at the other end of your knitting will disappear...not what you want :)
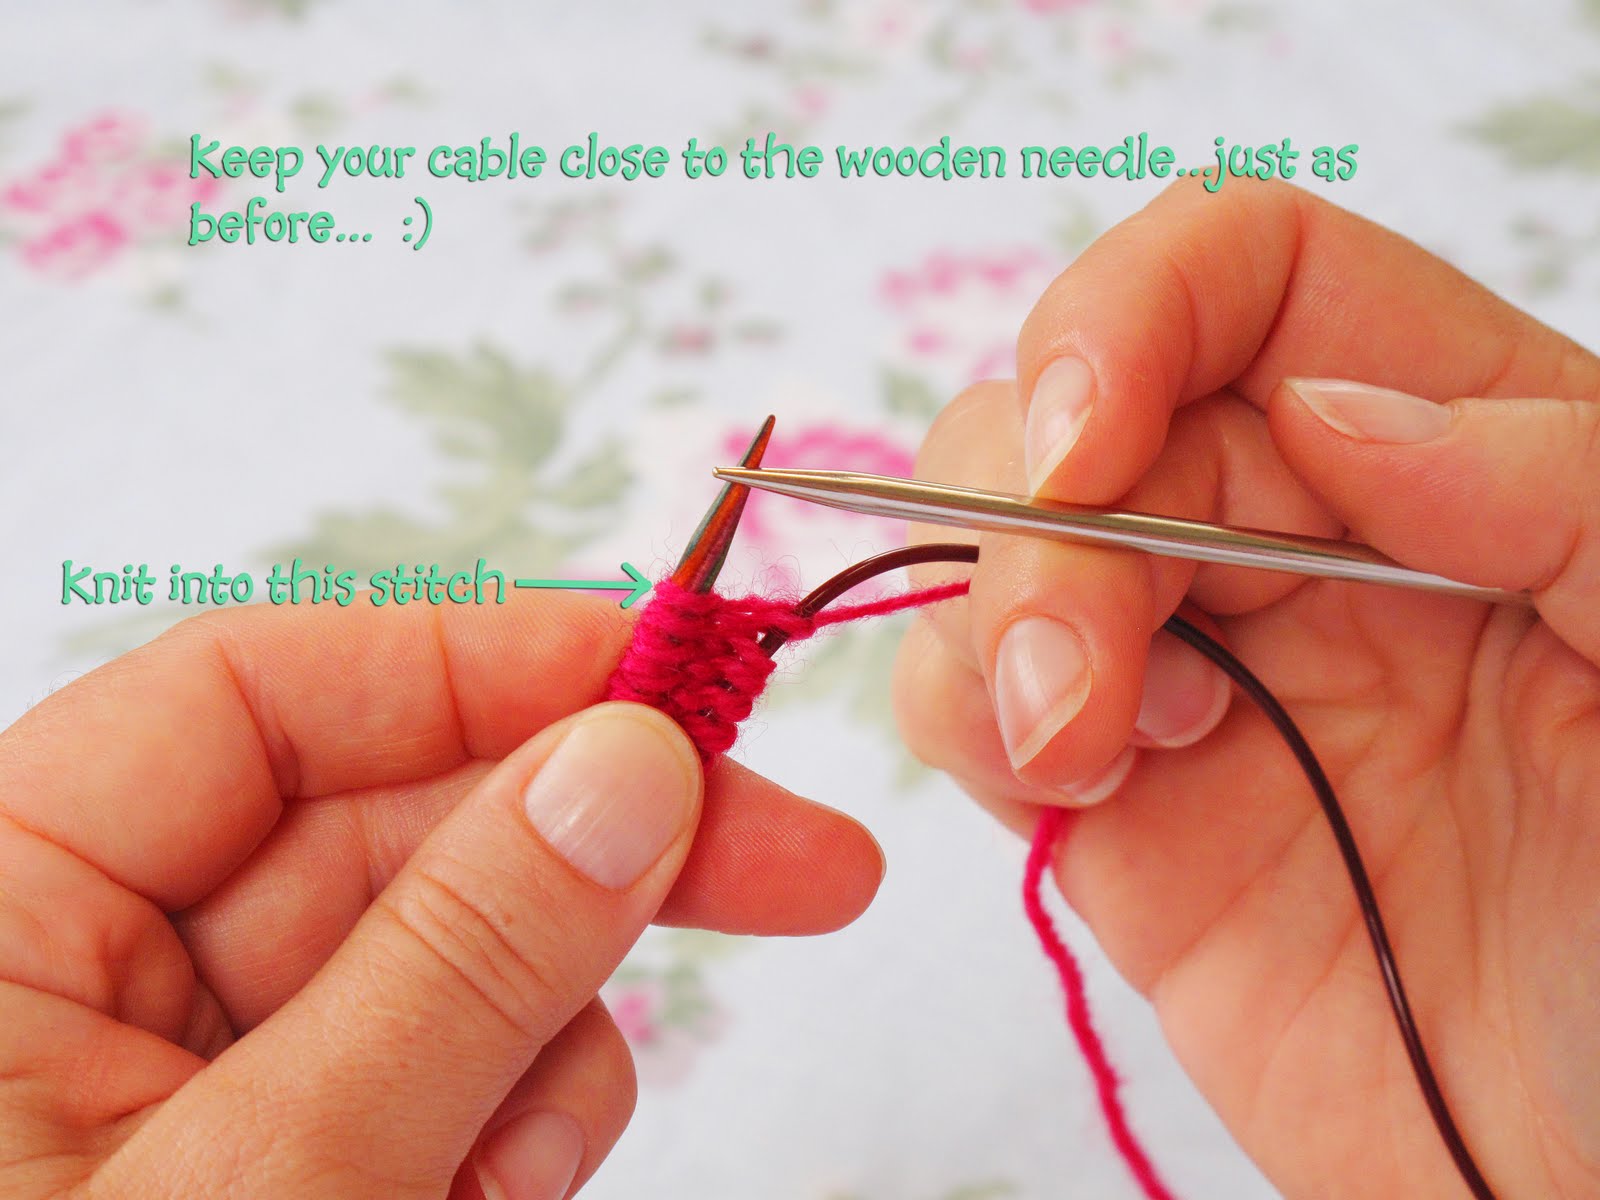
 Use your left hand (and in particular, your left thumb and index finger), to hold the cable and wooden knitting needle close together, as you start knitting with the metal needle.
 Also make sure that the working yarn lies OVER the back cable...
 Although the "purl" side was facing up before, slightly twist the work, so that you knit into the first stitch from the "knit" side. You may wonder why...as your work grows, a little pocket will form in the middle of the needles, growing down, and then it will be easy to see where to knit into from the knit side...but in Round 1, it can seem a bit strange to knit from "underneath"so to speak...
 Knitting into the first stitch...
 Keep knitting, exactly as you would on straight needles... in the pic above, I have knitted 6 stitches (all on my metal needle)...notice how close my metal needle and cable are at the beginning of the round...this prevents the "laddering" sometimes seen when this join area is too loosely knit...
 You've completed HALF of Round 1. Each Row/Round of knitting , must include the stitches on both sides.
 Turn your work, exactly as before...
 Your wooden needle cable now needs to be threaded backwards through your knitting, so that you can pull the metal needle outwards to the right side again...
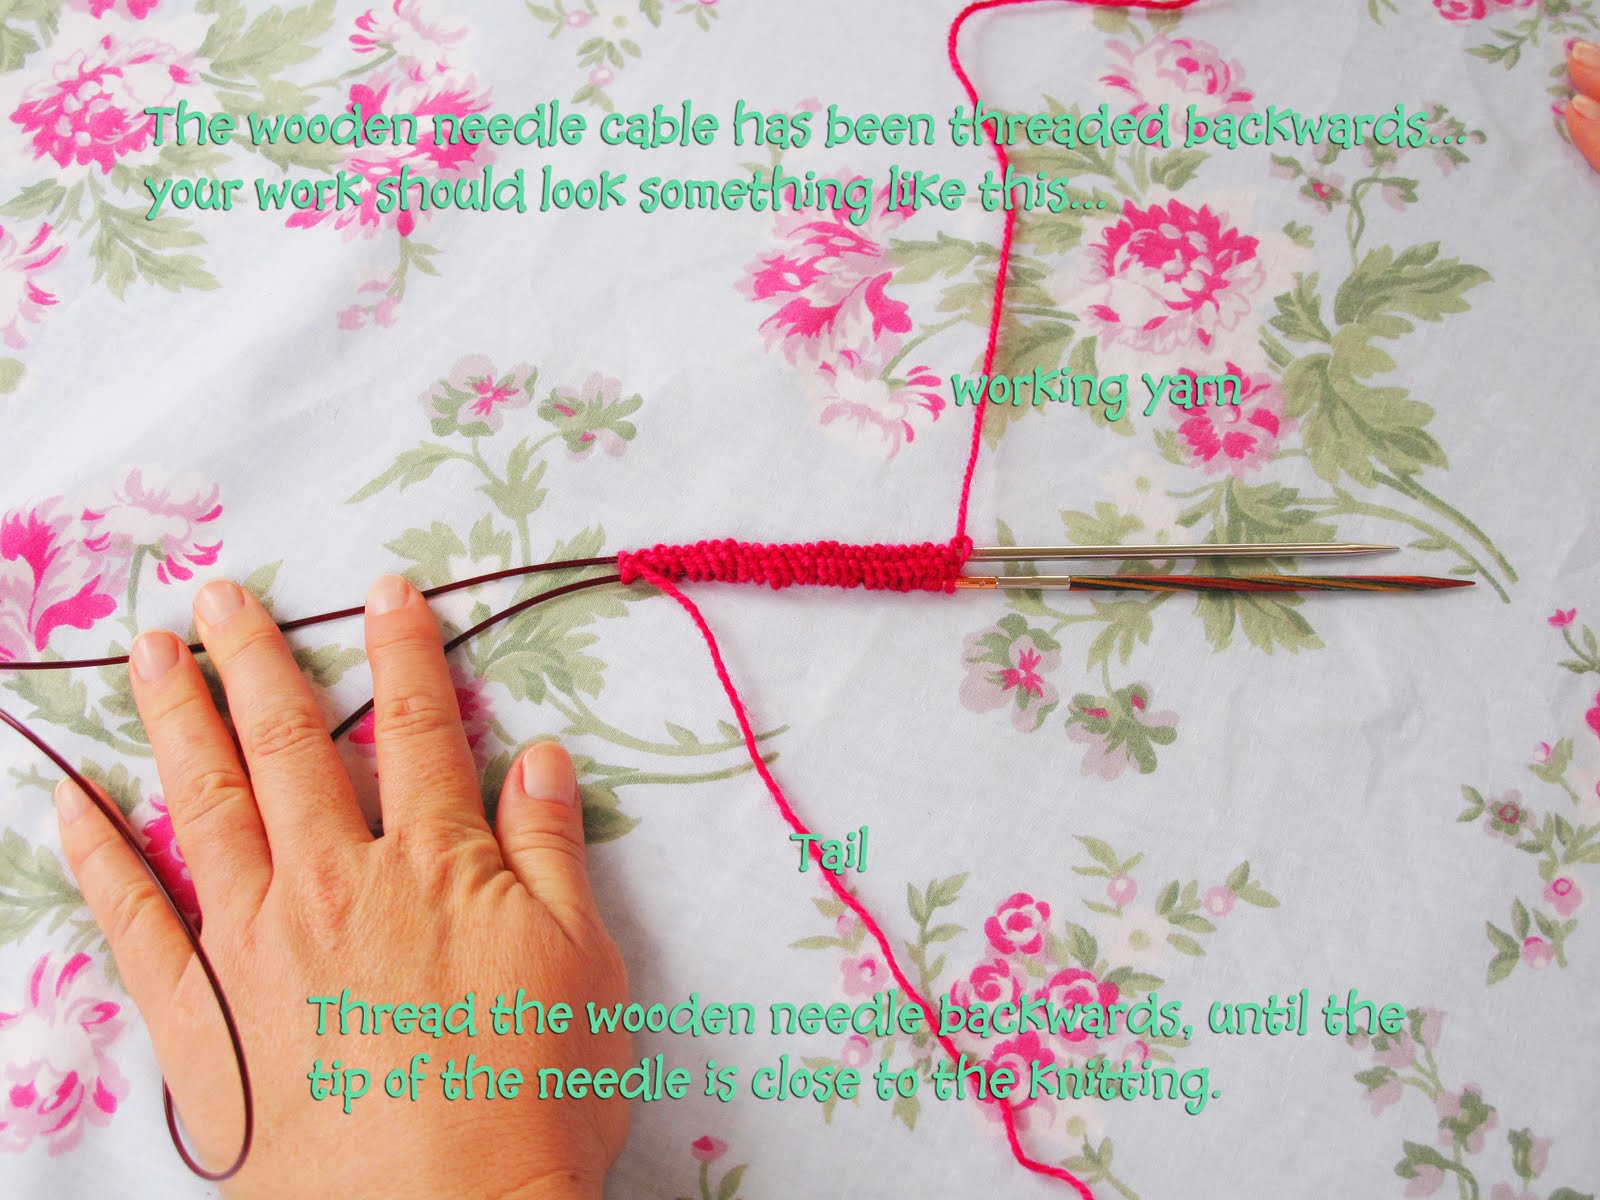
 When the wooden needle tip is close to the knitting, pull the metal needle outwards to the right hand side, just as before, and start to knit again...
 You are starting to knit the second half of the first Row/Round.
 Knit to the end of the row...
 Well done, you have completed the first round of your knitting... now turn your work, as before, and start knitting Row/Round 2.
I hope you will persevere in learning to do a Magic Loop, it will change the way you knit, my friends!
As it is Easter Sunday tomorrow, I won't be doing a post, but on Monday, I will post instructions for a project, using this technique... It's simple, cute and fairly quick to make, perfect for a gift for a special little someone...
Onto other things...
A few interesting links: this is a dream come true...I want one! No, that would be incorrect, I need to have one... ;) I am definitely going to see this (LOVED the books!), enjoyed this, and
had a good laugh at this (Please note: this is for adults...)
Hope you all have a special Easter...Bless you all!
Lots of Love,
Heidi :)

5 comments:
Hi Heidi, I just had to say thank you so much for all these wonderful photos. I've been trying to get my head around this technique and Judy's magic cast on and this has been the most helpful tutorial I've found on the internet. Thank you so much! Now off to make a cosy! :)
Heidi - this is brilliant! I have returned to knitting after a very long hiatus (20+ years). I just yesterday learned Judy's Magic Cast-on on two cables and wondered if it could be used with a Magic Loop (have never done Magic Loop, but have been curious about learning). Your tutorial is absolutely genius!
Do you have a video of this Magic Loop Knitting. I've got the cast on method down pat, thanks to your video (the best online by far!) but I am struggling with the rest. I am very knew to knitting : ) but I like to jump in head first! I have looked at these pictures a hundred times and my piece still stops growing or stretching ( I honestly don't know what the problem is) at the bottom. Thanks for the wonderful Blog!
Thanks so much! I just started a project that uses Judy's Magic Cast on and was stuck when i needed to move to knitting in the round. This is wonderful!
Thanks so much! I have a project that called for Judy's Magic Cast On and was stuck trying to figure out how to move to "in the round" but this is perfect, it got me unstuck very quickly
Post a Comment